We found a lot of great tables looking around, but nothing that fit exactly what we needed. I wasn’t crazy about the tables that were veneered, and most of the styles that I was into were unfortunately just too big – currently we have a big enough space to house a decent size table, but who knows if we will still have the dining space in the next place we move to.
We decided that whatever we bought would need to be scalable. So, having parents that have been building things for as long as I can remember (and the tools to enable that), I thought, “Hey! I could just build what we need!” A quick call and my dad was down to help me out, and I stopped by Crosscut Hardwoods down in SODO here in Seattle (an awesome lumber store FYI) and picked up some black walnut. It took about an hour comparing grains and making sure I wouldn’t end up short one way or another, but I left the store feeling confident and excited to start on this new project!

After I had the boards I wanted, we started off by running them through a planer and a jointer so they would sit flush together. The two outside boards were wider than the middle, so we evened it all out, ending with two 13″ wide boards on the outside and a 9″ wide board running down the middle. They needn’t be even, but absolutely had to be symmetrical. From there, we used a biscuit cutter (an old tool of my grandfathers, which my dad had inherited) to quickly measure out and place in the biscuits before applying glue and clamping the boards together, carefully making sure the boards created as level of a surface as was possible at the time (sanding could take the rest down.)

After everything had dried we went to sanding with some low-grit sandpaper, using my dad’s old but always powerful orbital sander and running my new palm sander for its maiden voyage. Other than one or two spots, we made quick work on the first pass. The table was starting to come together! The next step was routing a 45-degree angle on the lower edge of the table, all the way around. We grabbed my dad’s router (another inheritance from my grandfather) and quick had the job done, and ended the day taking some loose sandpaper and softening up the edges.
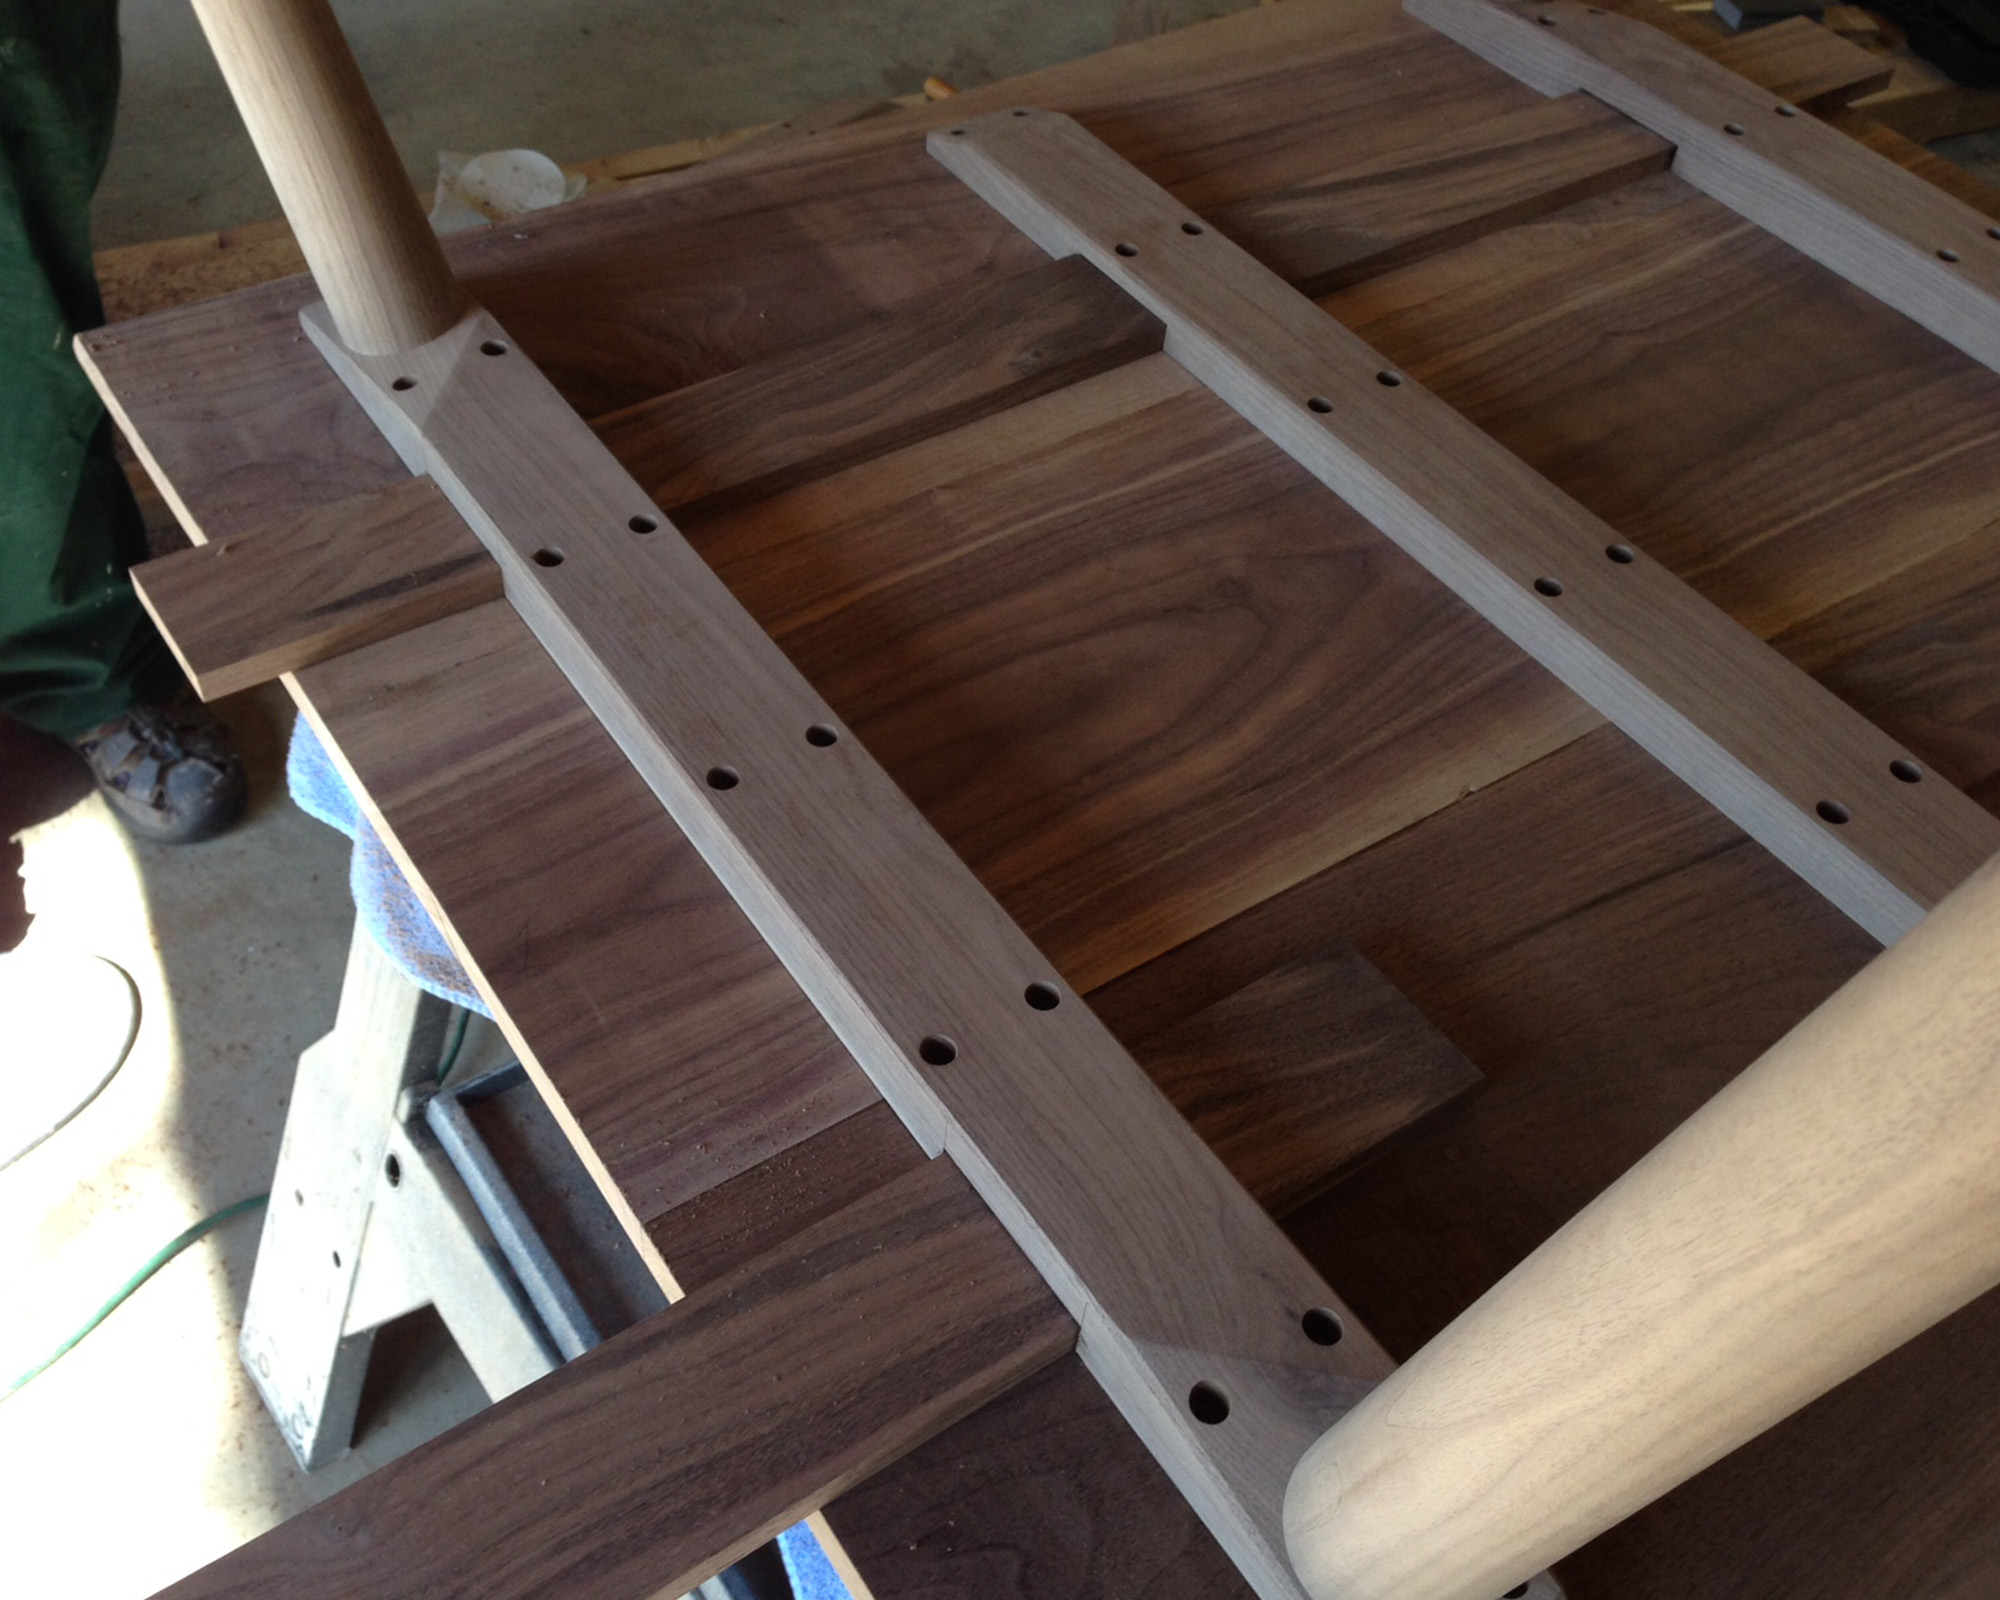
With the next visit came the most stressful step: cutting the leaves. Now that we had the table top getting pretty close to being done, save for one or two more passes with the sanders, we needed to cut 15″ off both ends for the two drop-leaves I had envisioned. I gritted my teeth, measured three or four times and we finally made the cut. Thankfully it went perfectly thanks to my dad’s years of experience! Now that the majority of the table top was done, we went to installing the legs (black walnut as well) and installing some perpendicular supports on the bottom (5 of them). Within these, we would install the mechanism to keep the leaves up. We sanded down four extra boards, and waxed them up so they would slide in/out smoothly.

After a lot of working and waiting, we finally were reaching the final stretch. We mounted the leaves with six hinges, installed shims to keep the leaves steady and made some slight adjustments to make sure the leaves were flush with the rest of the table when extended.
It was finally time for the finish – something that required its own hefty bit of research. I had finally settled on a tung oil varnish product called Waterlox (a truly awesome product). I put the initial coat on the table (and a piece of Maple we had been working on as well) and sat back in awe as the oil seeped in to the grain of the walnut and began to bring out the beautiful grain the wood is known for. Over the next few weeks, my mom happily offered to apply several more coats to build up a durable layer of protection.

It was finally done! The process was a lot of work and quite a bit of time, and I enjoyed every second of it. As always, it was awesome to spend so much time with both my parents as we worked on this together, and not only do I have an awesome table to show for it but also some amazing memories! A huge thanks to both of them, Robert and Laura Saxton for taking their time to help me with this! I’ve already designed out plans for a bookshelf and a cabinet and can’t wait to start on those now that the table is done!


